Automations are a paid add-on to your Lead Docket subscription. To add automations to your account, contact your Account Manager for more information.
Lead Docket Admins can create custom automations, allowing leads to move through the system automatically. Using automations, Admins can automate status changes, sending lead forms, sending leads to Filevine (if integrated), and sending Vinesign templates (if integrated). Admins can also choose how they want to trigger the automation, which kinds of leads they want the automation to apply to, and more.
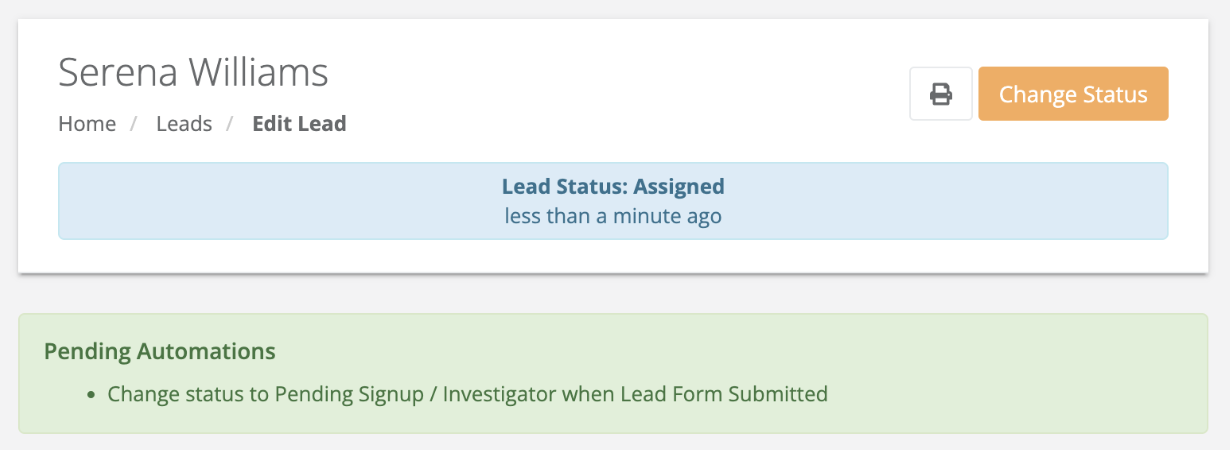
When a lead has a pending automation, meaning the automation has been created for a qualifying lead but not yet triggered, the automation details appear at the top of the opened lead. Once the automation is triggered, these details disappear.
Note: Each lead can be changed by automations a maximum of 50 times. After 50 changes, the automations will be blocked in order to prevent circular status changes.
Manage
In the Automation Rules page, you can view and manage your existing automations.
View and Filter
The List of Automation Rules section contains your organization’s existing automation rules. Each column displays the following information:
- whether the automation rule is enabled
- title
- automation
- trigger
- associated status (if the automation action is “Change Status”, this column will also display the new lead status)
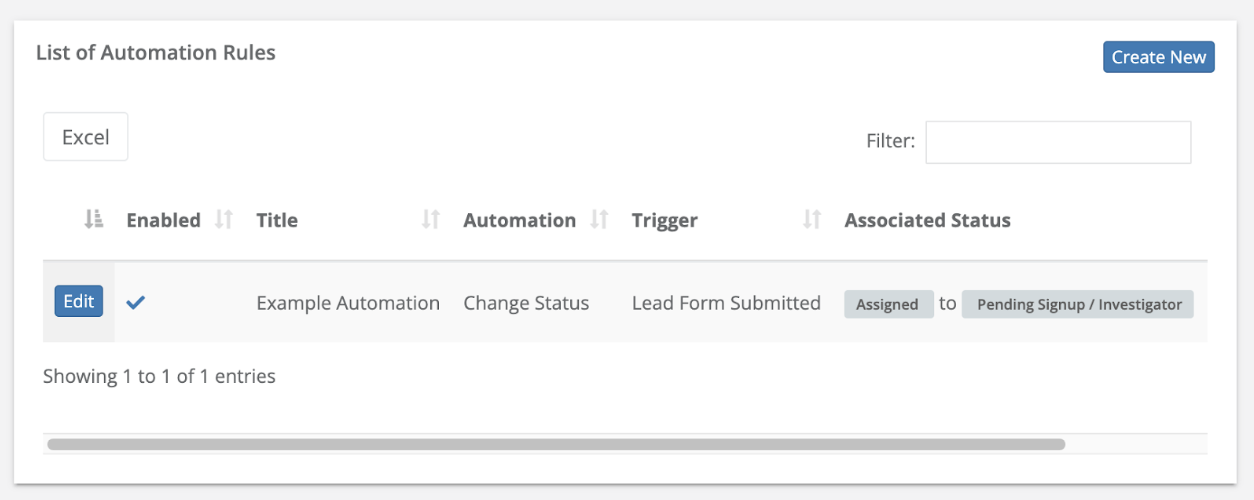
Click the column headings to sort the list. You can also enter a keyword into the Filter: box to filter the list, or click the Excel button to download a spreadsheet of the list.
Edit
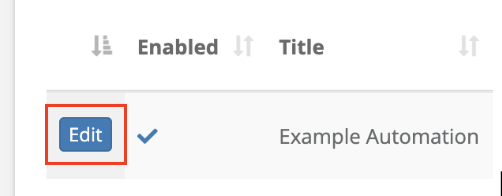
Click Edit beside an automation rule to be taken to the Edit Automation Rule page. Here, you can edit the automation as desired. When finished, be sure to click Save.
Disable or Delete
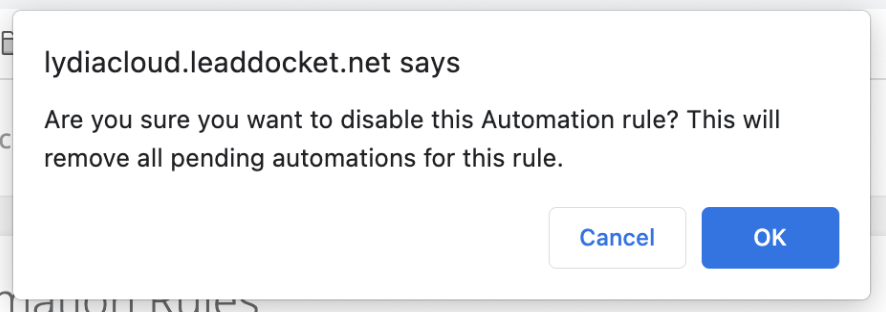
Click the checkmark beside an automation rule to disable the rule. Lead Docket will ask you to confirm before proceeding. Disabling an automation rule will delete any of its pending automations, so proceed with caution.
Once confirmed, the Enabled column displays a circle-backslash icon to indicate that the automation rule is disabled. Click that icon to reenable the rule.
To delete an automation rule, you must disable it first. Once disabled, click Delete beside the rule. Lead Docket will ask you to confirm before proceeding.
Note: Deleting an automation rule is permanent. If you want to temporarily pause an automation rule, but not delete, consider disabling it instead.
Create
Admins can create automations in the Automation Rules section.
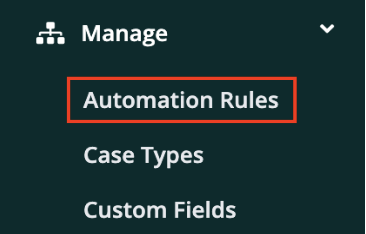
To navigate to the Automation Rules section, click Manage in the left side menu and select Automation Rules from the dropdown.
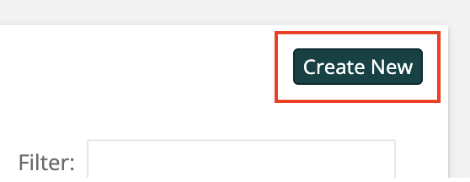
In the top right corner of the List of Automation Rules section, click Create New to be taken to the Add Automation Rule form.
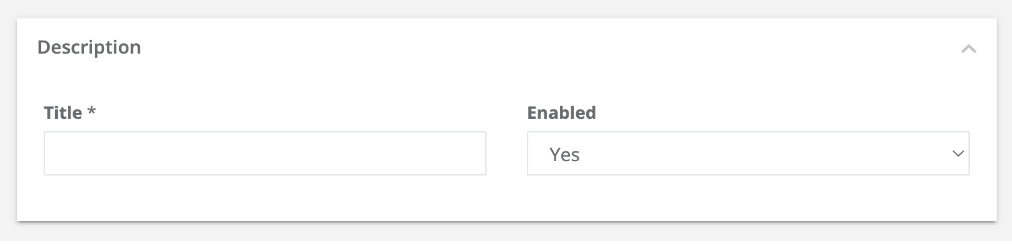
Description
In the Description section of the form, enter a title for the automation, and choose whether you want the automation to be enabled upon creation. If you select “No,” you can enable the automation later in the Automation Rules section.
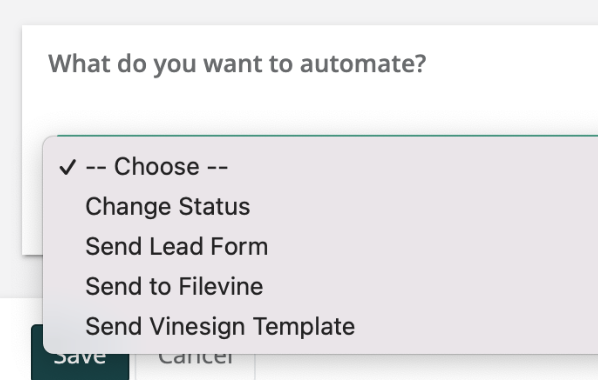
Automation and Trigger
Click the What do you want to automate? dropdown and select the action that you want to automate. The automation options you see depend on whether your Lead Docket account is integrated with Filevine or Vinesign, and may include the following:
- Change Status: Automatically changes a lead’s status to a new status.
- Send Lead Form: Automatically sends a lead form to a lead.
- Send to Filevine: Automatically sends a lead to Filevine.
- Send Vinesign Template: Automatically sends the Vinesign template of your choice to a lead.
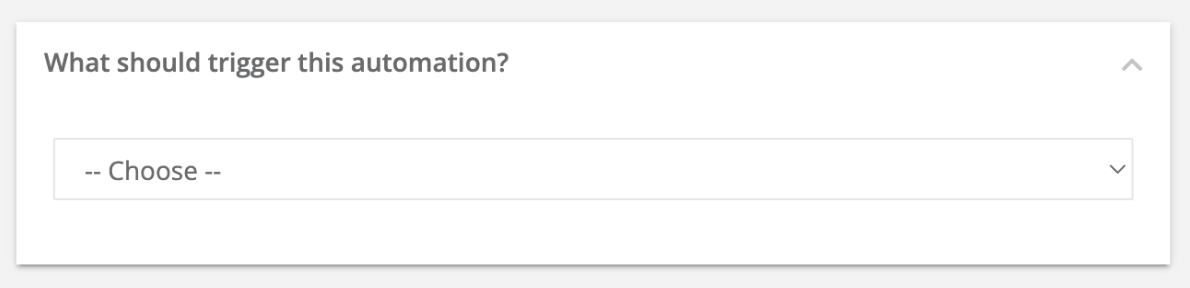
Click the What should trigger this automation? dropdown and select the action that you want to trigger the automation. If you selected “Change Status” as your automation, you can select from the following triggers:
- Electronic Signature Document Signed: The automation will be triggered when a lead signs and submits an electronic signature document.
- Lead Form Submitted: The automation will be triggered when a lead submits a lead form.
- Time Passed: The automation will be triggered when a given length of time has passed. You can specify the unit (days, hours, or minutes) and length of time in the Automation Rules section.
If you selected another automation, select “Status Changed” as the trigger. The “Status Changed” option triggers the automation when a lead’s status changes to the Associated lead status chosen in the Automation Rules section.
Automation Rules
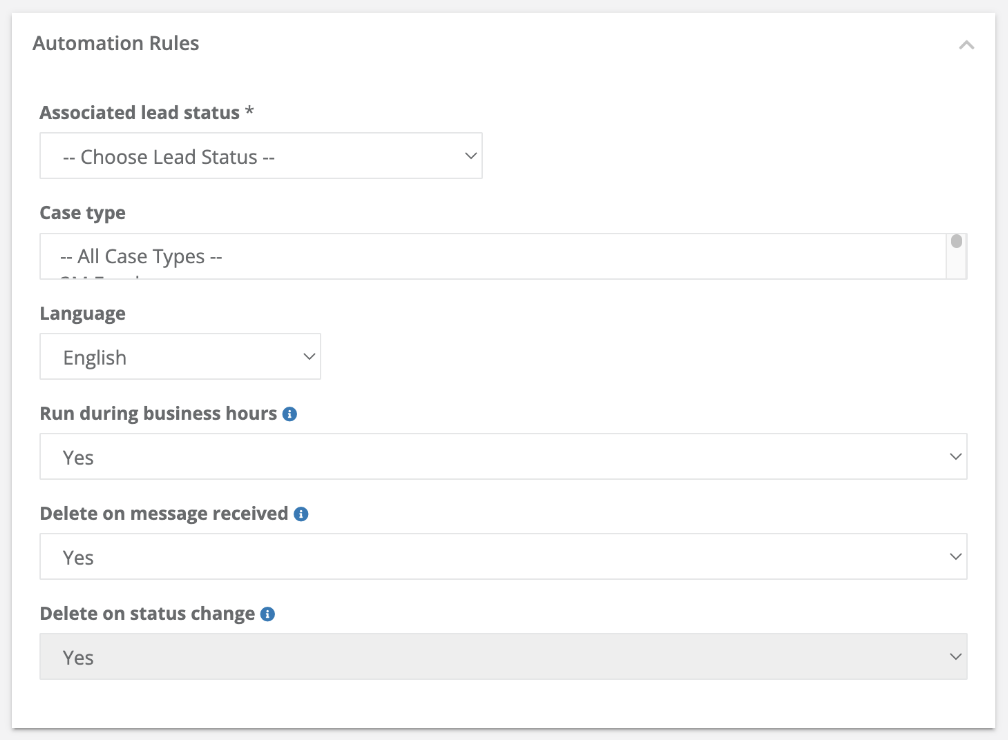
In the Automation Rules section, you can choose criteria for the creation of your automation. The options you see depend on the action selected in the What do you want to automate? dropdown, and may include the following:
- Associated lead status: Select the lead status that you want the automation to apply to. The automation will occur only for leads that enter the selected status. If the selected status has associated substatuses, an additional dropdown will appear for you to select a substatus.
- When and When condition value: If you selected the “Change Status” automation and the “Time Passed” trigger, the When dropdown and When condition value field appear.
Click the When dropdown and select the desired unit of time for the interval: days, hours, or minutes from now. If the Run during business hours dropdown has “Yes” selected, the units of time will read “Business Days from now,” and so forth.
In the When condition value field, enter the desired length of time. For example, if you wanted a lead’s status to be changed three hours after the lead enters the automation’s associated lead status, you would select “Hours from now” from the When dropdown and enter “3” into the When condition value field. - Case type: If you want the automation to occur only for leads with a certain case type, select the desired case type. To select multiple case types, hold the Ctrl (⌘Cmd for Macs) button down while selecting.
- Language: Choose whether you want the automation to occur only for English-speaking or Spanish-speaking leads.
- Run during business hours: Choose whether you want the automation to run during business hours, or outside of business hours. If you select Yes, then automations will pause when business hours end and resume when the next business day begins.
- Delete on message received: Choose whether you want any pending automations to be stopped when a message is received from a lead. For example, if an automation has been set to change a lead’s status to “Second Chase Attempt” after 5 days, and the lead sends a message before 5 days have passed, the automated status change will be blocked.
- Delete on status change: Any queued automations for a lead will be stopped when the lead’s status is manually changed. This option cannot be customized.
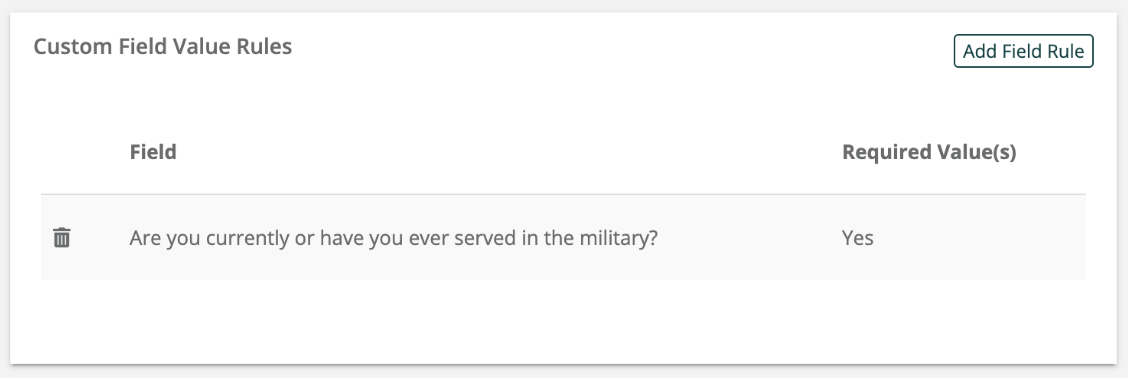
Custom Field Value Rules
In the Custom Field Value Rules section, you can choose if you want the automation to be triggered based on the information specified in lead custom fields. If multiple custom field value rules are configured for an automation, the automation will only run for leads that match all of the custom field value rules.
Note: If you selected one or multiple case types in the Automation Rules section, then you can only add rules for the selected case types’ custom fields.
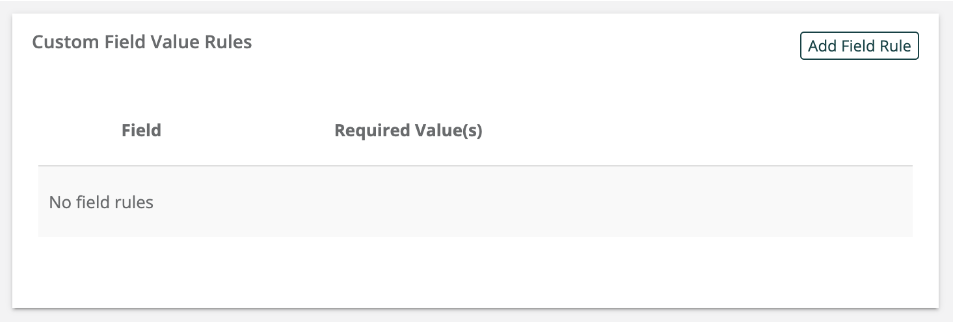
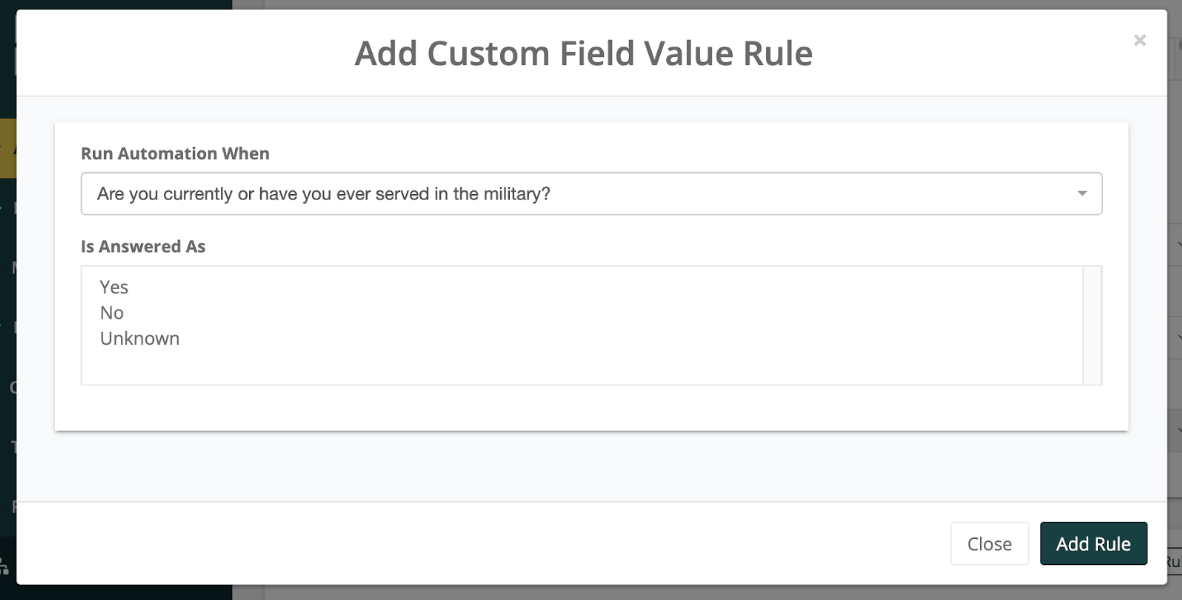
To add a custom field value rule, click Add Field Rule. In the Add Custom Field Value Rule modal, click the Run Automation When dropdown and select the desired custom field. You can also type to search your custom fields. Only the following custom field types appear in the dropdown:
- dropdown list
- radio buttons
- true / false
- yes / no
After selecting a custom field, the Is Answered As box appears. Select the desired answer, or hold the Ctrl (⌘Cmd for Macs) button down to select multiple answers. Then, click Add Rule.
The new rule now appears in the Custom Field Value Rules section. To delete a rule, click the trashcan icon beside the rule you’d like to delete. Lead Docket will ask you to confirm before deleting.
Additional Selections
Depending on the automation selected in the What do you want to automate? dropdown, you may see additional selections at the end of the form.
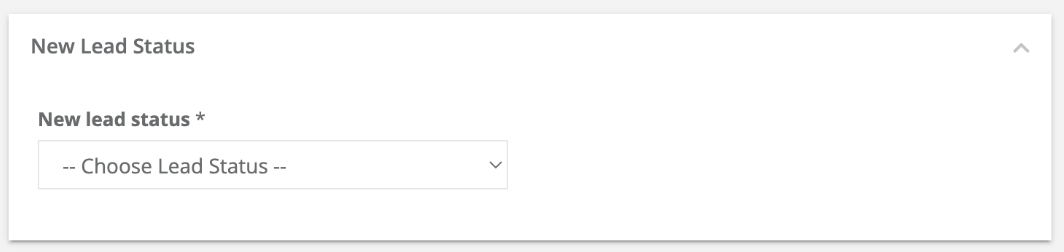
If you selected “Change Status,” click the New lead status dropdown and select the status you’d like the automation to change leads to. If the selected status has associated substatuses, an additional dropdown will appear for you to select a substatus.
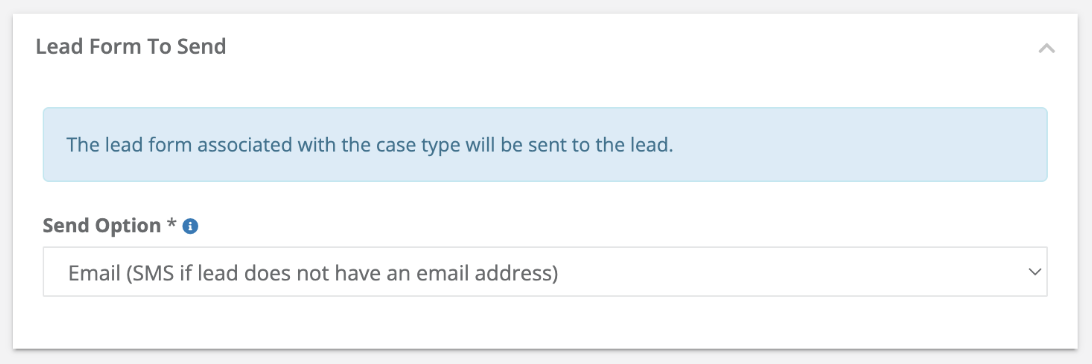
If you selected “Send Lead Form,” click the Send Option dropdown and select the preferred method for sending lead forms. If a lead does not have the required contact information for the preferred method, the form will be sent via the other method. Each lead will be sent the lead form associated with the lead’s case type.
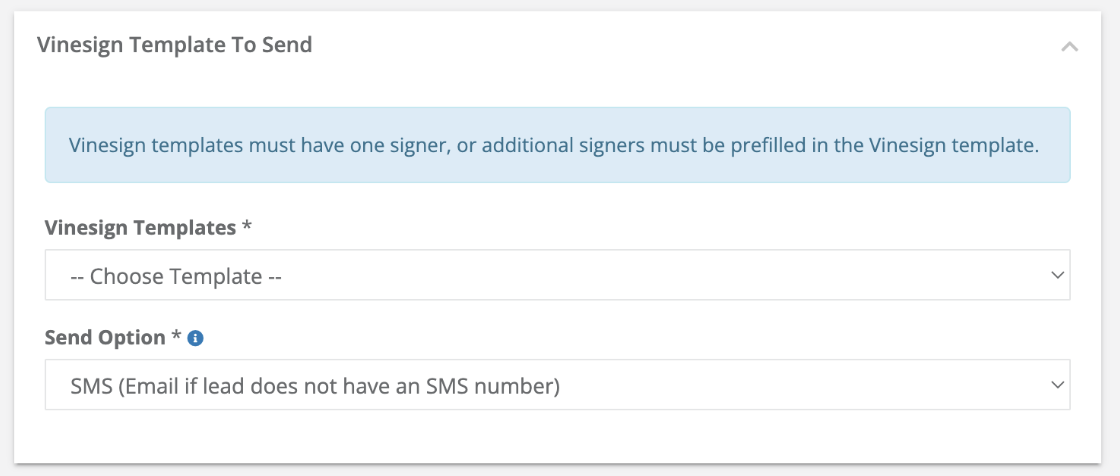
If you selected “Send Vinesign Template,” click the Vinesign Templates dropdown and select the desired template. Click the Send Option dropdown and select the preferred method for sending templates. If a lead does not have the required contact information for the preferred method, the template will be sent via the other method.
Save and View
When you have finished filling out the form, click Save. You are then redirected to the Automation Rules page, and the new automation appears in the List of Automation Rules section.
Comments
0 comments
Article is closed for comments.