
Collection sections allow users to store multiple sets of similar information. A collection section creates a “collection” of items, where each item contains a set of fields. A good example of a collections section is a Meds Section which allows users to track the same data points—like date of visitation and cost of visit—for multiple providers.
Lead Docket’s collection sections allow you dynamically push collection items from Lead Docket’s intake directly into Filevine, with proper mapping.
Import from Filevine
The simplest way to set up collection sections in Lead Docket is to import them from Filevine. This method does not require custom mapping. To do this, you must have access to the following Advanced tools, which can be found in the Advanced Access tab:
- the Customs Editor Advanced tool in Filevine
- the Import/Export Custom Templates Advanced tool in Filevine, which enables you to export filevine section template and project templates
You must also be an Admin in Lead Docket, and have access to the Import section.
Export and Import
In the Customs Editor in Filevine, export the collection section template in an .fvst or .fvpt file. Learn more about template importing.
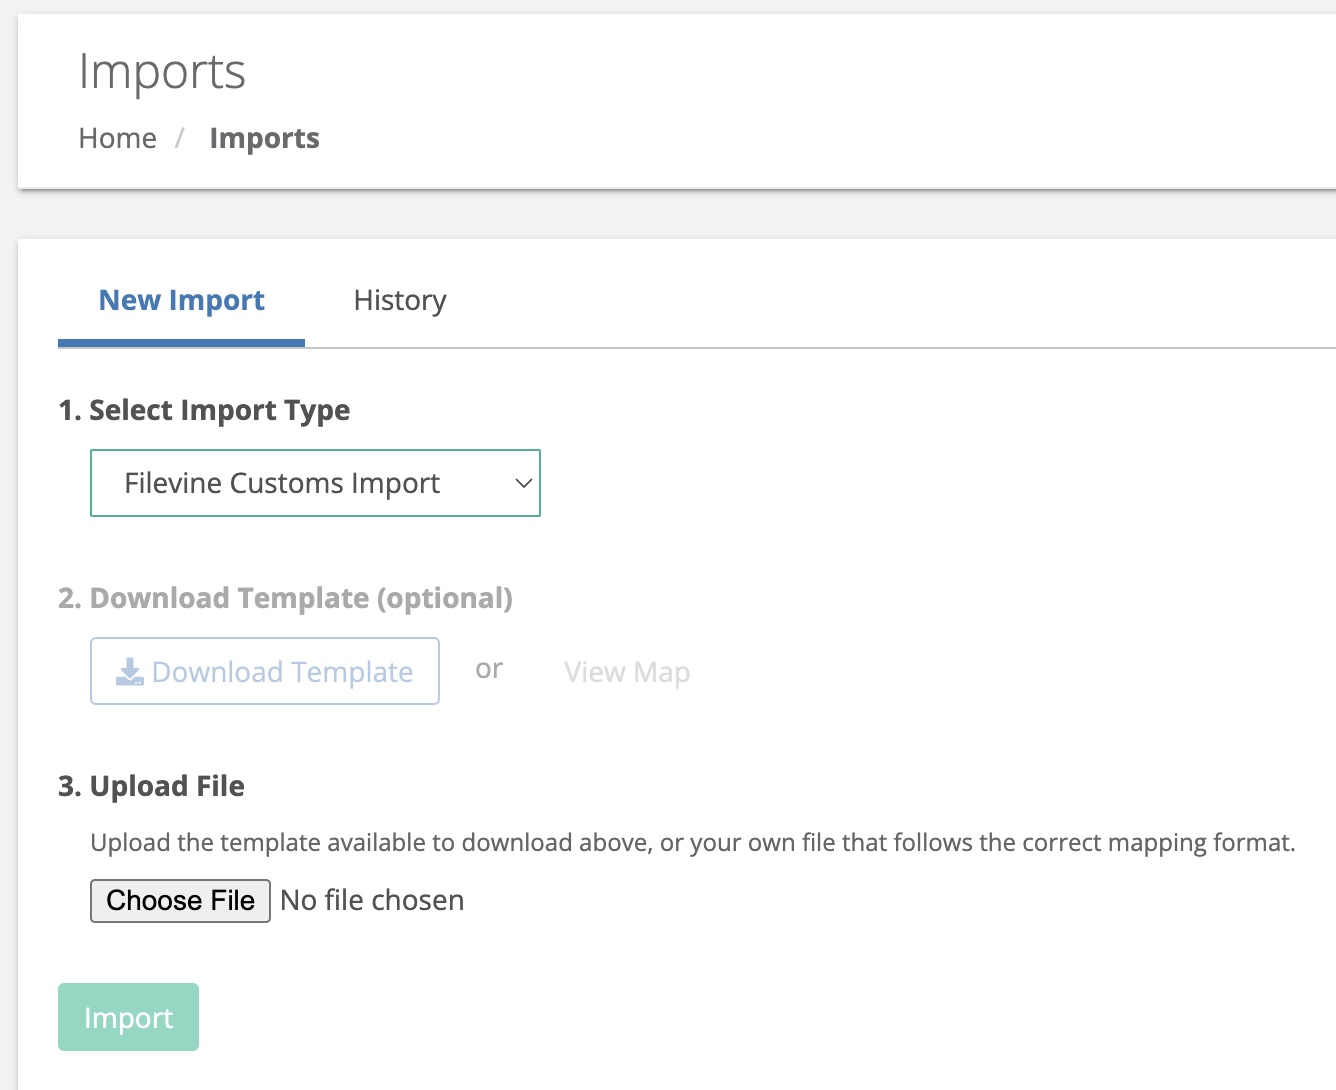
When you have downloaded the section template for the desired collection section, go to Lead Docket and and select Manage > Import. On the Imports page, select the import type “Filevine Customs Import” and upload the the .fvst file you’ve downloaded. Test the file to make sure the import was successful, and then Import.
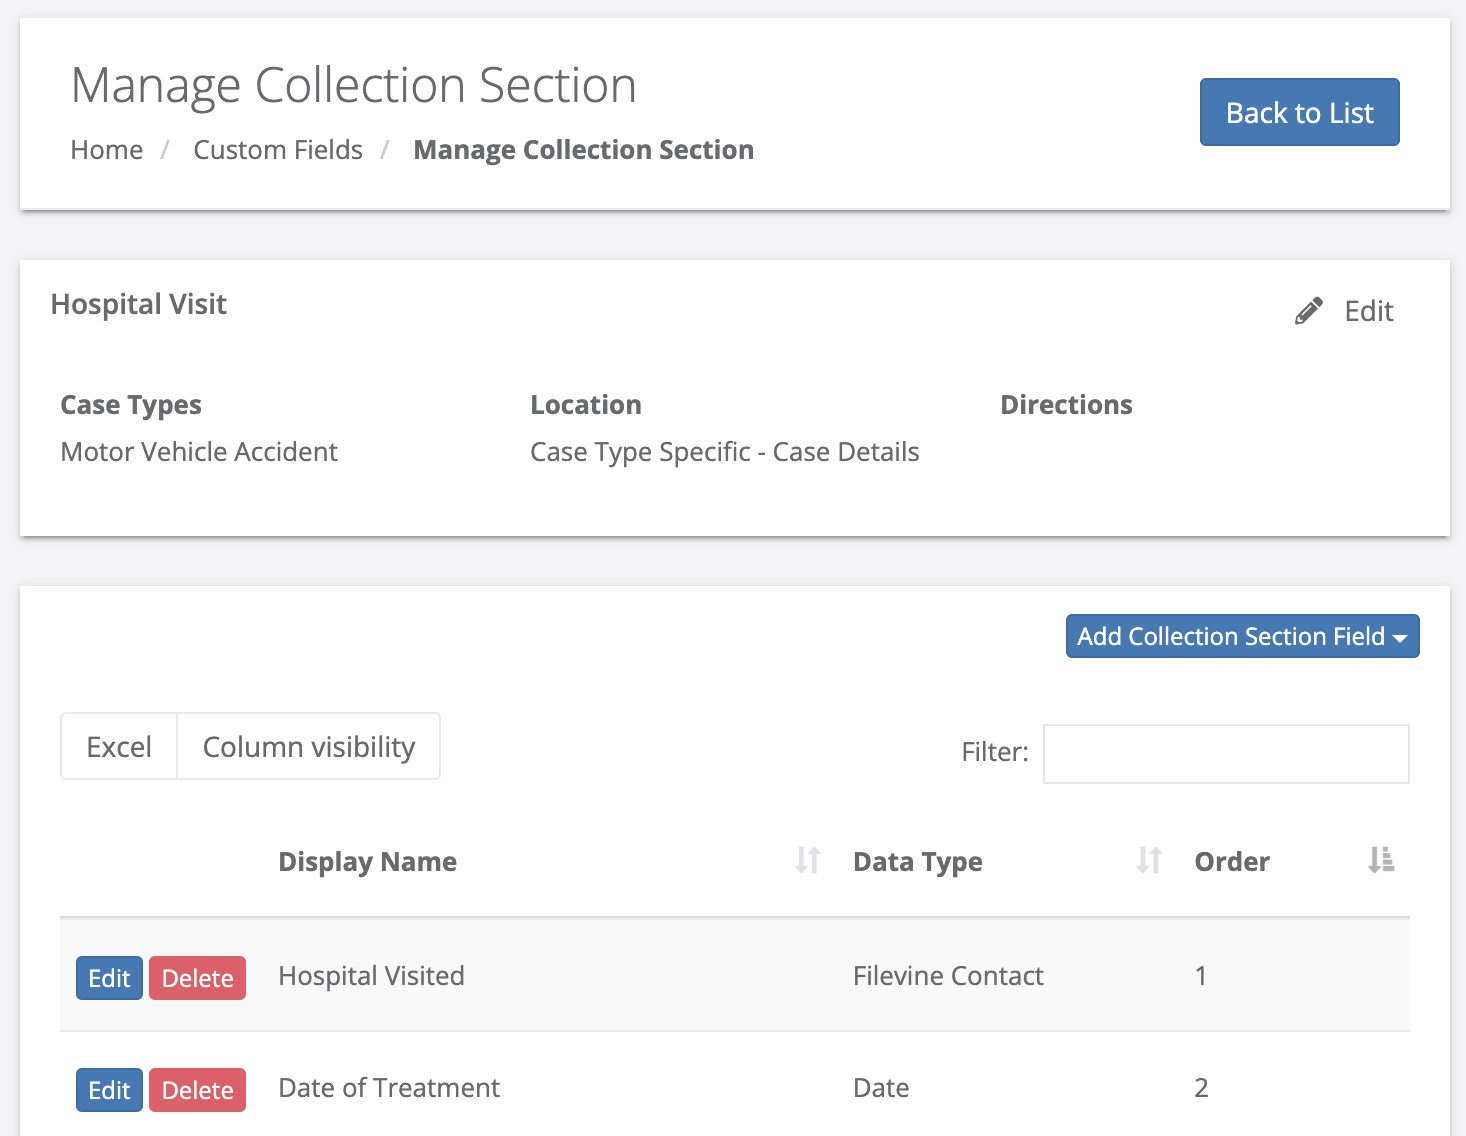
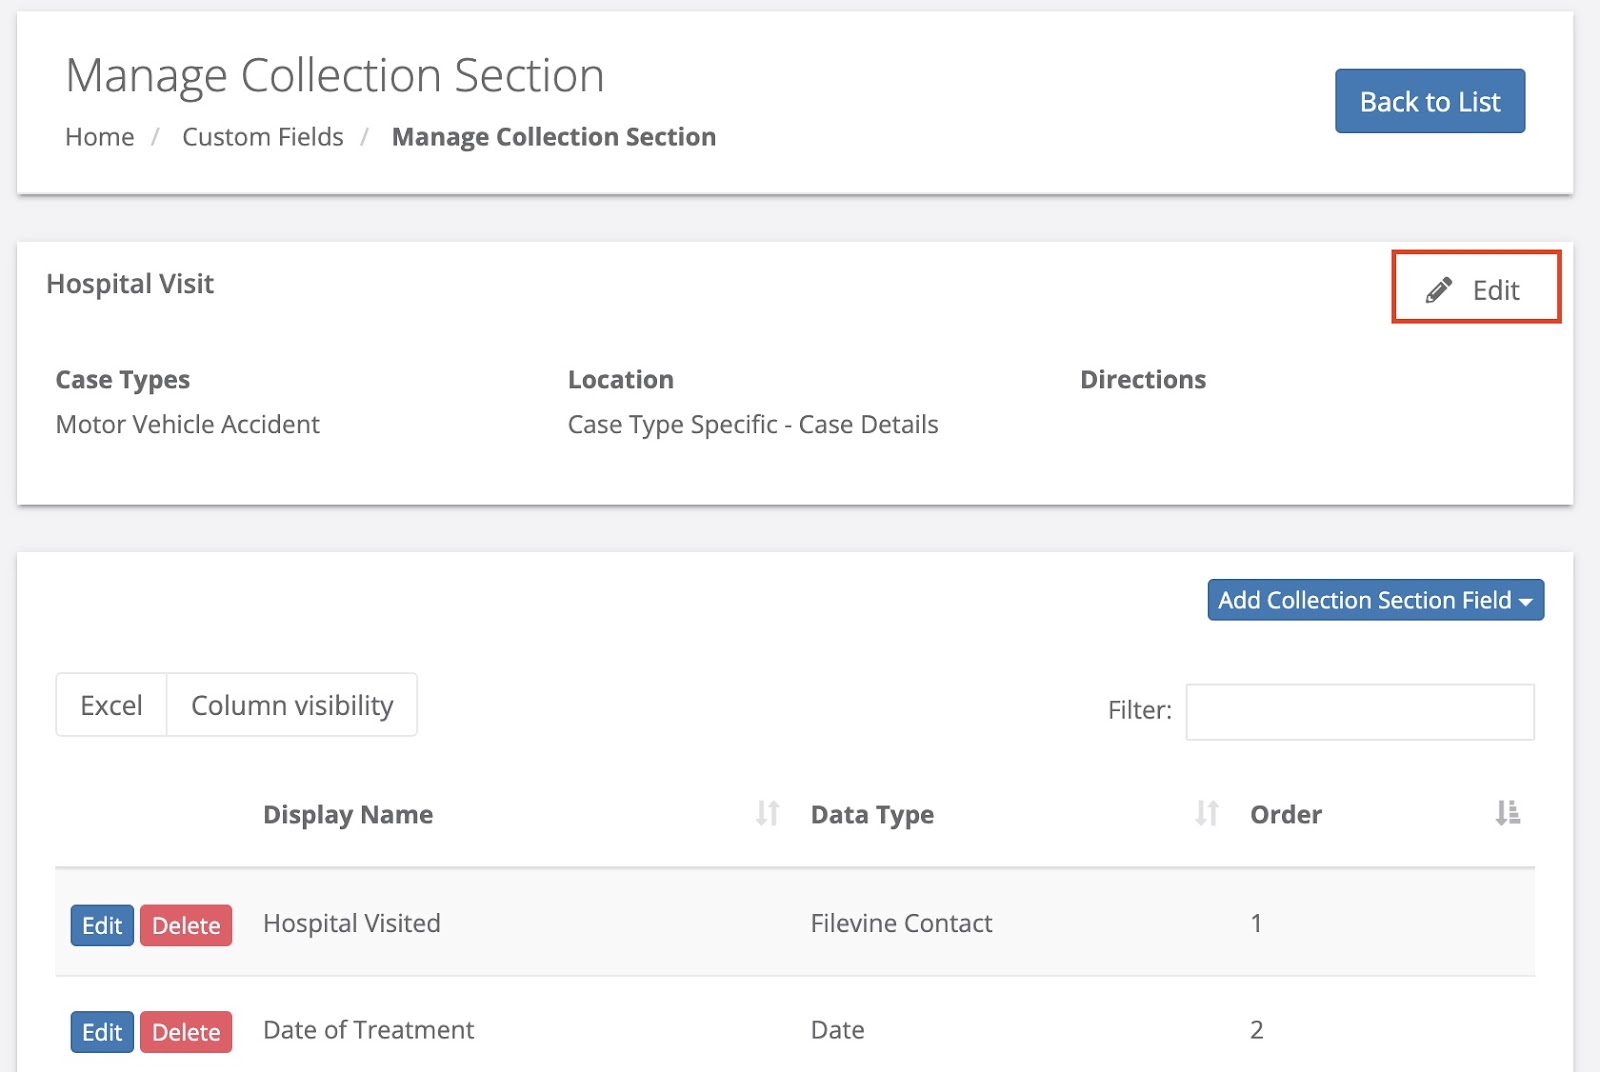
Once you’ve imported the collection section template, navigate to Manage > Custom Fields. The imported collection section will appear in the field list. Click Manage to view the collection section details and fields.
Click Edit in the top section of the collection section’s page, and, if necessary, adjust the collections section’s location in the intake form, and make sure the collection section is matched to the desired case types.
Set Up a Collection Section Manually
Alternatively, the collection section can be added manually in Lead Docket and then custom mapped to a collection section in Filevine. You can also review and adjust the mapping between the Lead Docket collection section using the Map the Section instructions.
Add a New Collection Section
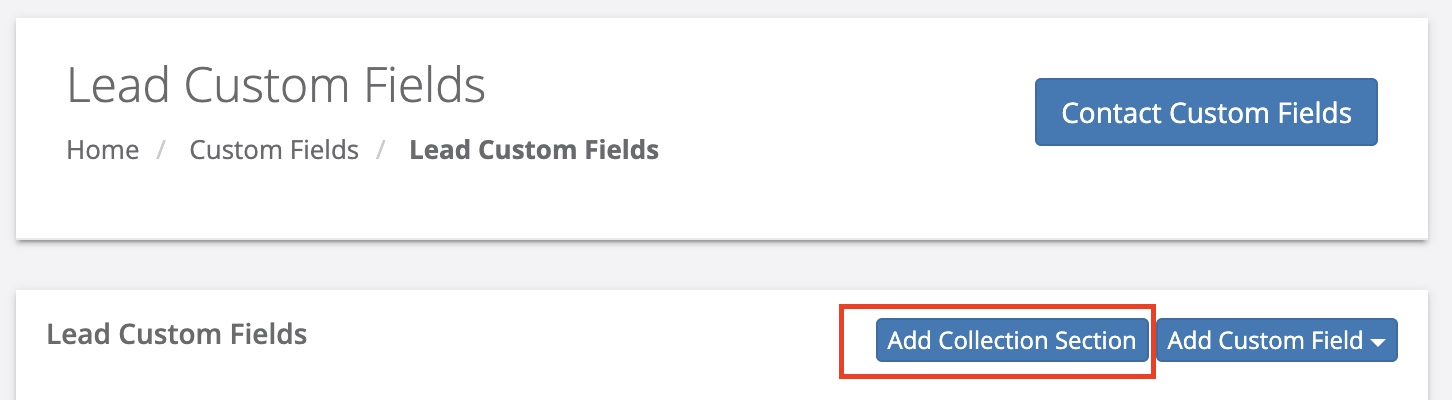
Click Manage > Custom Fields in Lead Docket’s left side menu. Any collection sections will now be included in the field list, with the data type “Collection Section.” On the Lead Custom Fields page, click Add Collection Section.
In the open modal, fill out the section details as you would for a custom field. Choose the location of the collection section. If you select “Case Type Specific - Case Details,” you must select one or more case types to include the section in.
Add and adjust the section’s name, description, and display as needed.
You can choose to make the collection section dependent on another field. If the selected conditions are not met, and the entire collection section will not display.
When you have filled out all the fields, click Save changes.
Add the Section’s Fields
Once you save the section, you can add the fields that will be included in each collection item. You can navigate to a collection section’s page by clicking Manage next to the section in the Lead Custom Fields list.

In the Manage Collection Section page, click Add Collection Section Field and select the desired field type from the dropdown. All custom field types can be added to a collection section except for the file upload field type. Up to 20 collection sections can be added, and up to 20 fields can be added to each section.
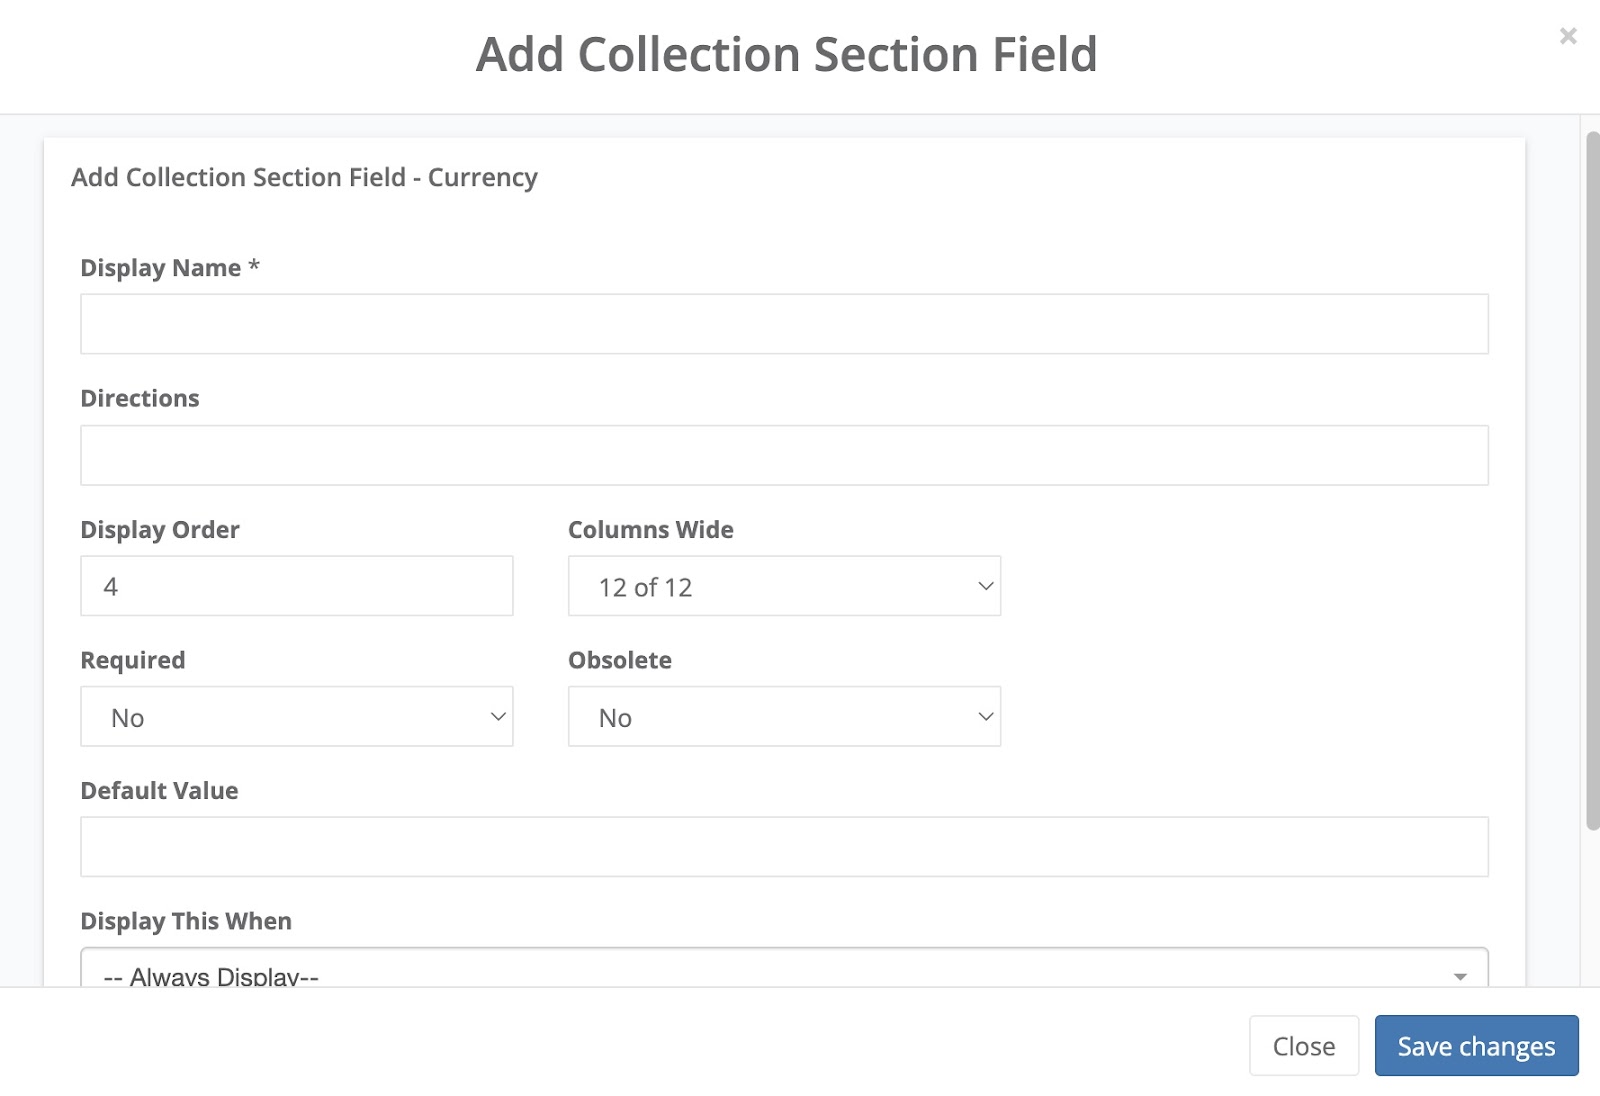
Fill out the information in the Add Collection Section FIeld modal. Click Save Changes.
Repeat the process to add all of the fields you want in this collection section. Added fields appear in the collection section’s fields list, and can be edited there just as other custom fields are.
Edit a Collection Section
In the Lead Custom Fields page, select the collection section you’d like to edit and click Manage. On the collection section’s page, click Edit in the top section to adjust the collection section’s name, location, and other details.
To change or remove a field in the collection section, find that field in the list and click Edit or Delete. Deleting a field removes as associated data, so exercise caution when deleting fields.
Map the Section
To custom map the collection section to Filevine, click Pending Filevine in the left side menu and then click Filevine Mapping. Click the Collection Sections tab, and then click New Mapping. In the Add Collection Section Mapping modal, select the Lead Docket collection section and the Filevine collection section you would like to map it to. Click Save Changes.
The collection section appears in the list. Click on it to navigate to the mapping page, where you can map individual fields. For each Lead Docket field, click the dropdown and select the Filevine field it should be mapped to. Fields can only be mapped to the Filevine fields of the same field type in the selected collection section. Each Filevine field can only be mapped to once.

When you have mapped each field, click Save.
In the Lead
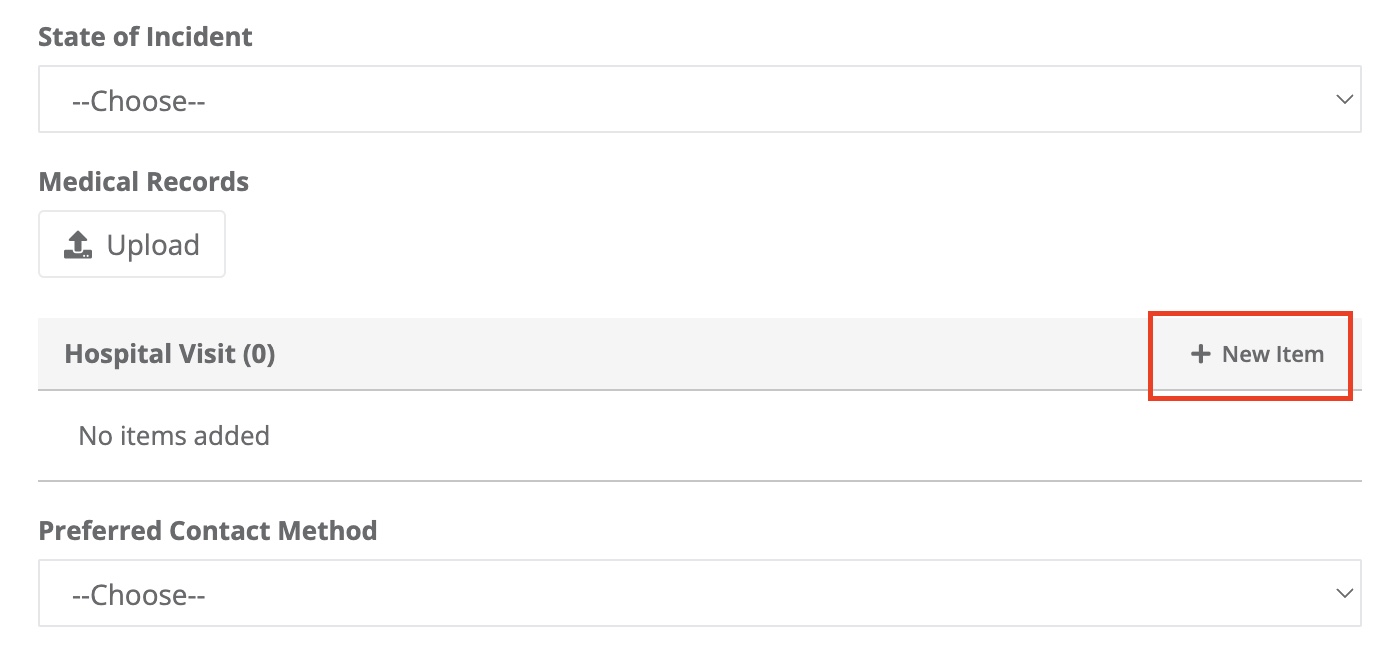
Once you’ve added a collection section with at least one field, it will appear on the lead intake form in the location you selected.
The collection section initially displays as a gray header with the option to add + New Item. Click this button to add a collection item.
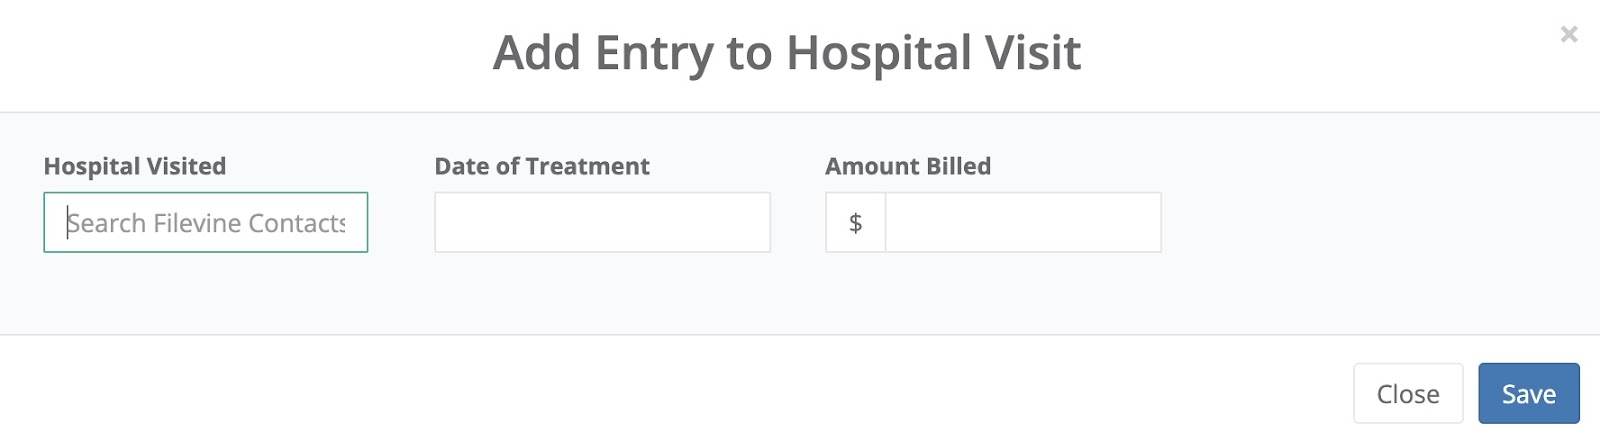
In the modal, fill out the fields, and click Save. Not all fields need to be filled to save the collection item.
Once the collection item has been saved, it appears as a line under the collection section’s gray heading. If the collection item contains more than four fields, you can click the caret to expand the item and view all fields.
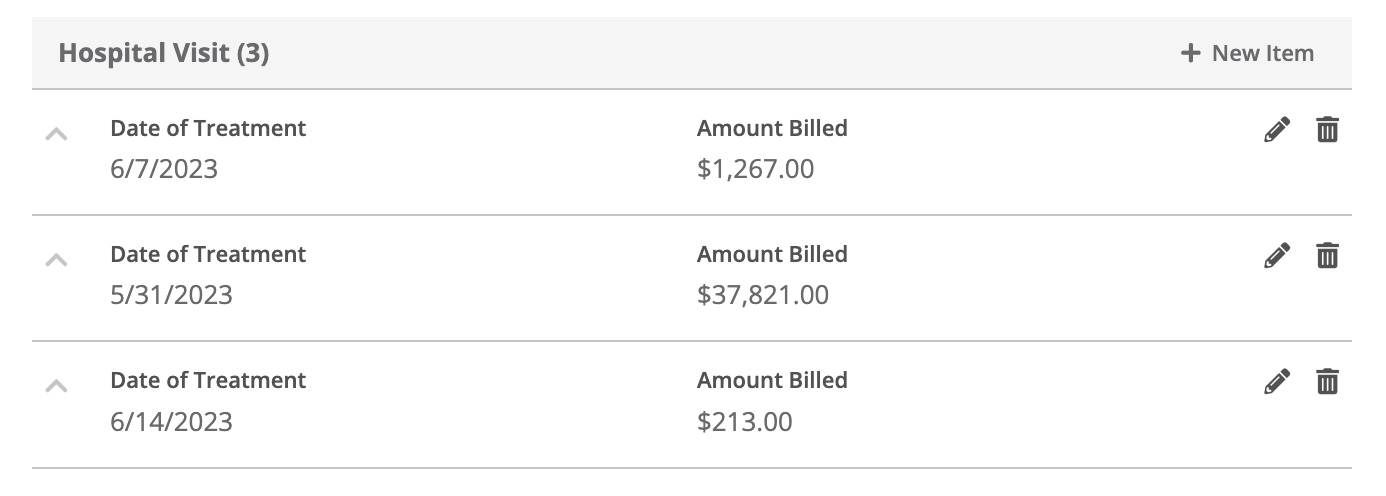
Click the pencil icon to re-open the modal and edit the collection item, and click the trashcan icon to delete the collection item.
Comments
0 comments
Article is closed for comments.