
This article will explain how to set up a document with the appropriate input fields to be used for specific lead details.
Other Document Template articles:
Step 1 - Open the document you would like to set up as a Document Template (in Microsoft Word).
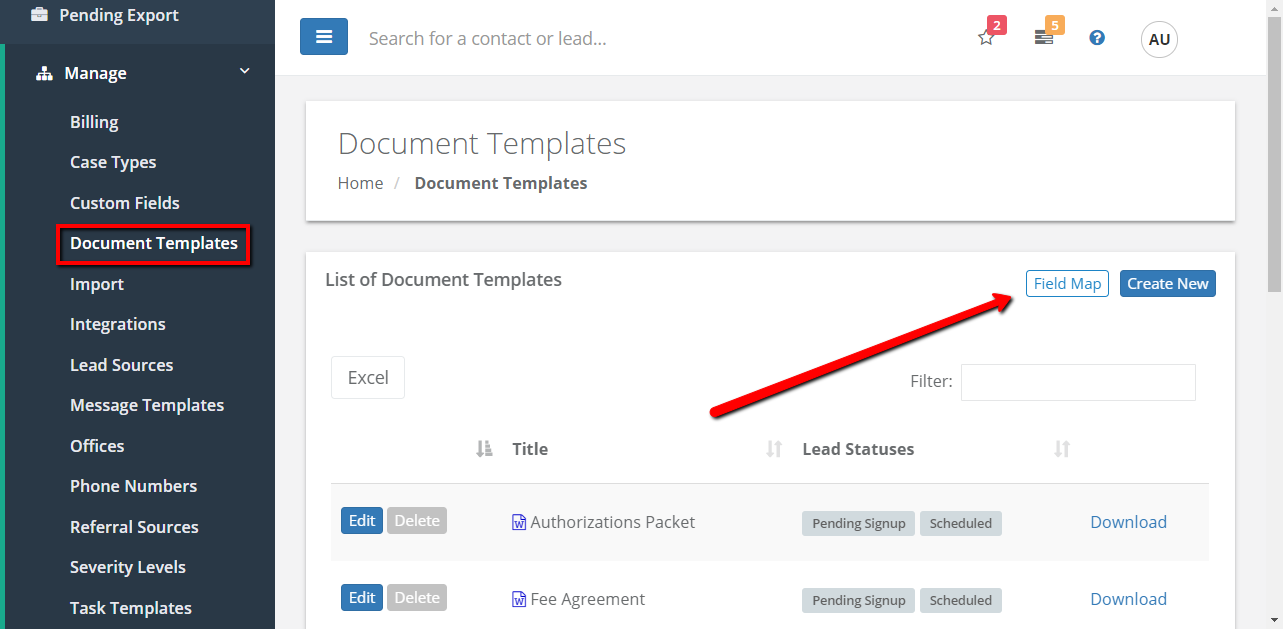
Note: If you are editing an existing Document Template, download the existing document by clicking the Download button to the right of the Lead Statuses column on an individual template (Manage > Document Templates > Download)
Step 2 - Replace any parts of the document that you may want to populate with specific Lead Details by using the input fields.
For example, you could replace a spot for the Lead's full name with {{ClientFullName}}
To see a list of input fields that can be populated on a document, click the Field Map button in the Document Template interface
Here is an example of how a Document Template may look

Step 3 - Adding a new / editing an existing Document Template
If this is a new document template...
- See this article for guidance.
If you are editing an existing document template...
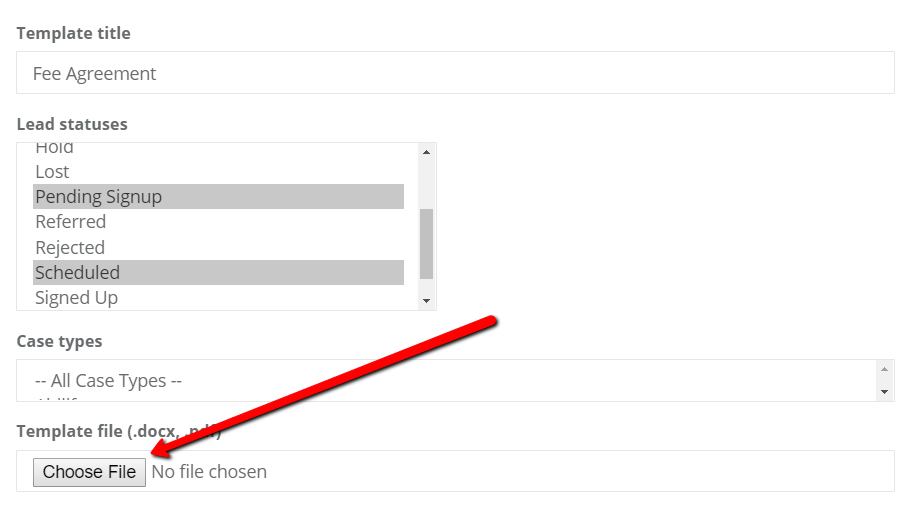
- Click the Edit button next to the Document Template you wish to update and then upload the newly edited document by clicking the Choose File button
Step 4 - Click the Save Changes button

Comments
0 comments
Please sign in to leave a comment.