
This article discusses how to set up a Zapier webhook. Learn more about webhooks.
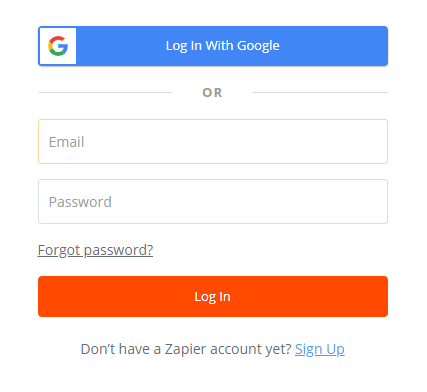
Step 1 - Open Zapier & Log In to your account
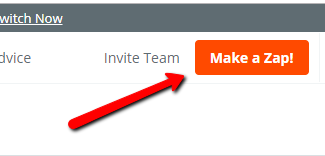
Step 2 - Click the Make a Zap! button
Step 3 - Search for "Webhooks" in the search bar and click Webhooks by Zapier

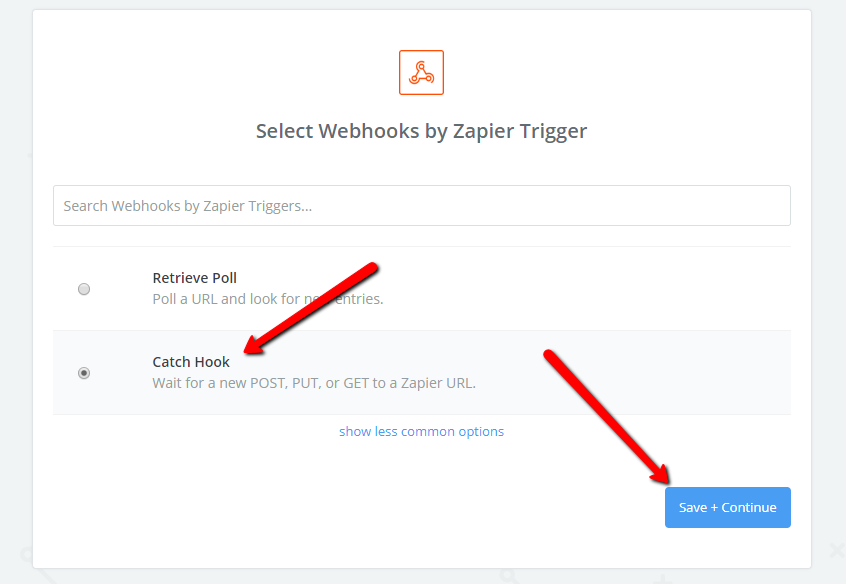
Step 4 - Click Catch Hook and then click the Save + Continue button
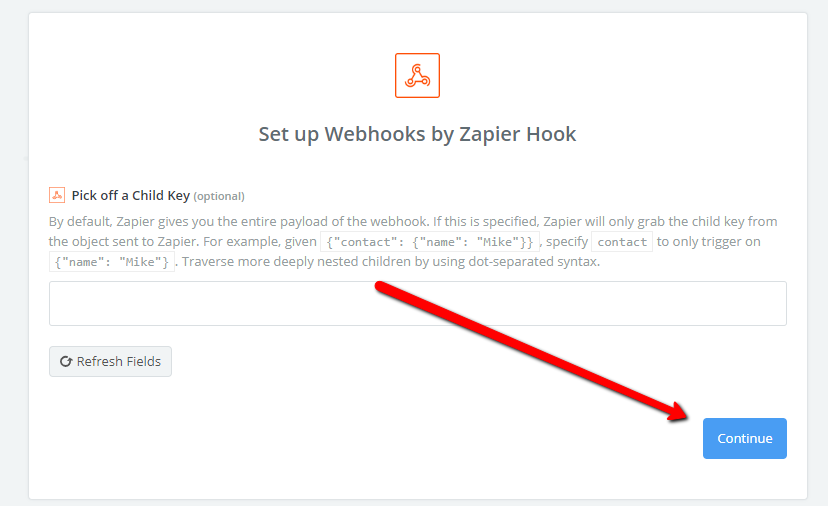
Step 5 - On the Pick off a Child Key screen, click Continue
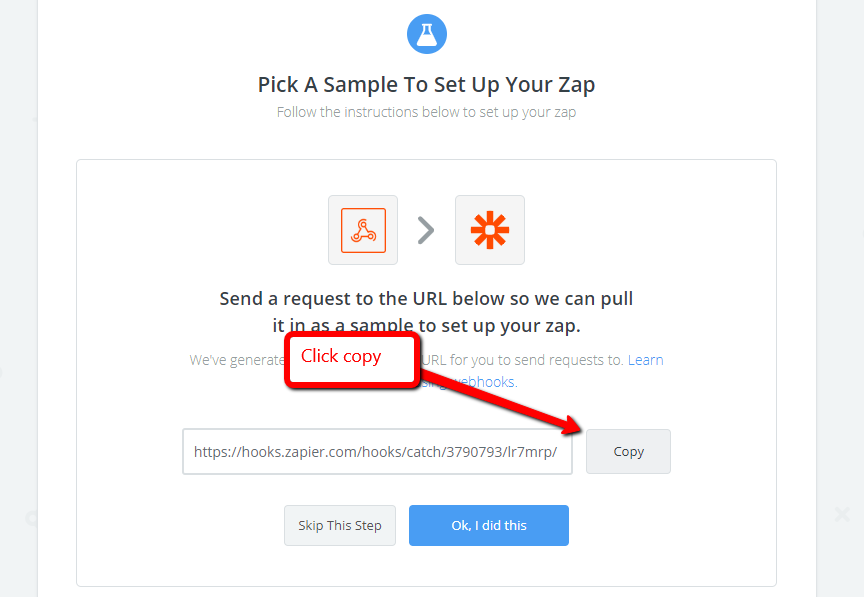
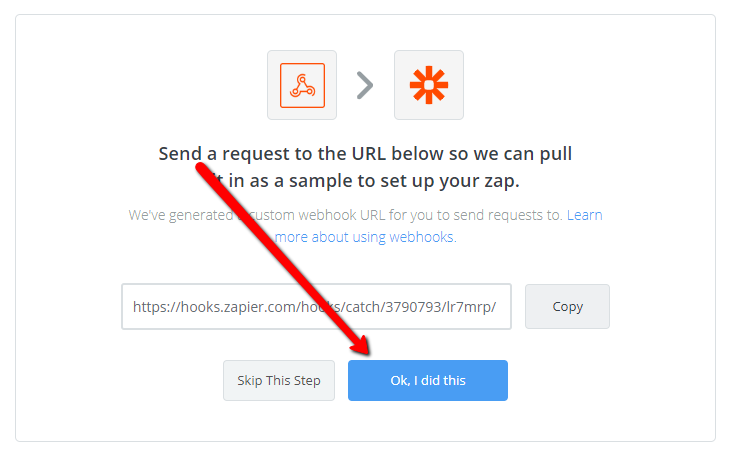
Step 6 - Copy the URL in the input box by clicking the Copy button
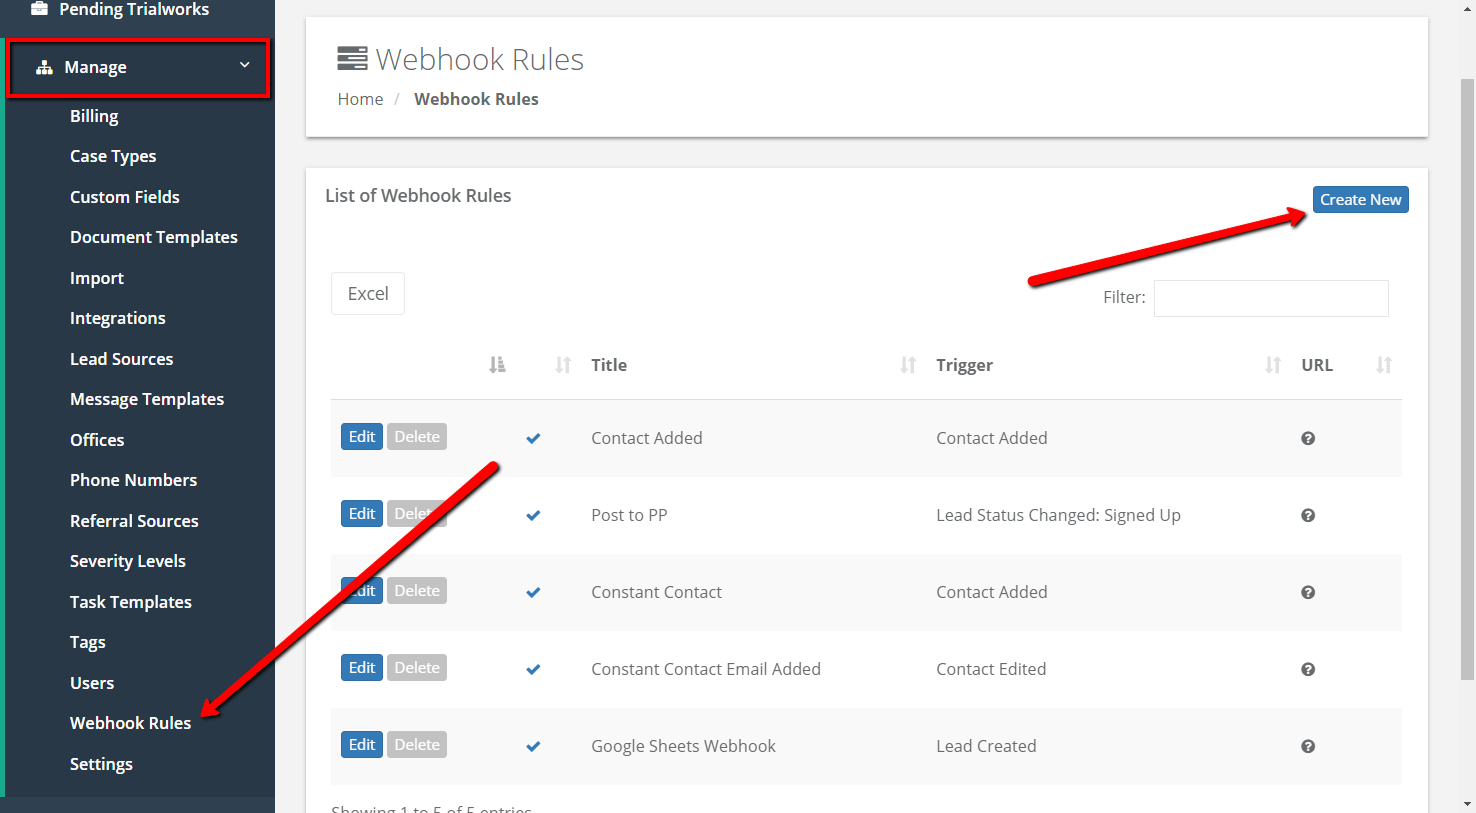
Step 7 - In Lead Docket, go to Manage > Webhook Rules and click the Create New button in the top right
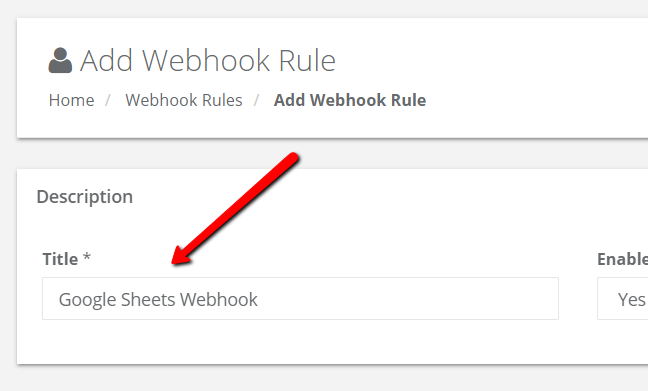
Step 8 - Name your Webhook Rule (Example: "Google Sheets Webhook")
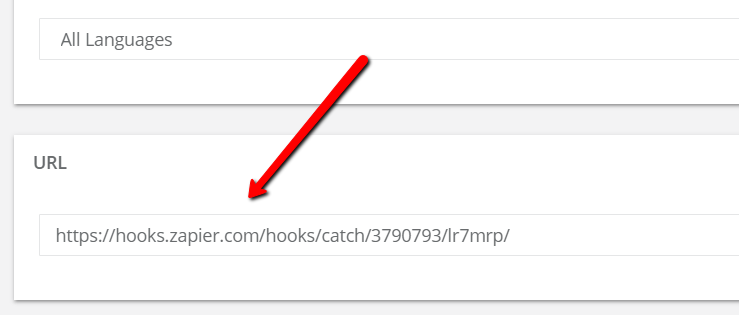
Step 9 - Paste the copied URL in the URL input box
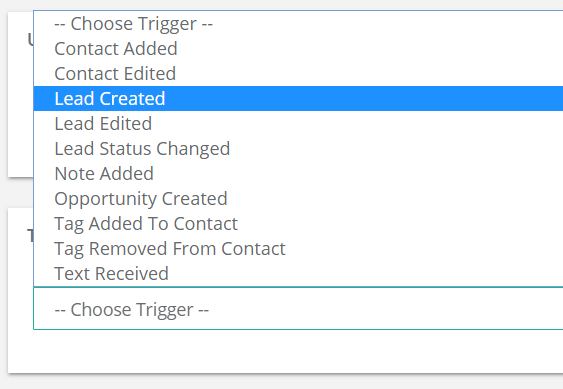
Step 10 - Select a Trigger for the Webhook. The trigger selected will be the action that needs to occur in order for the information to be sent from Lead Docket
Example: We will send lead details to Google Sheets when a Lead is Created in Lead Docket (Lead Created Trigger)
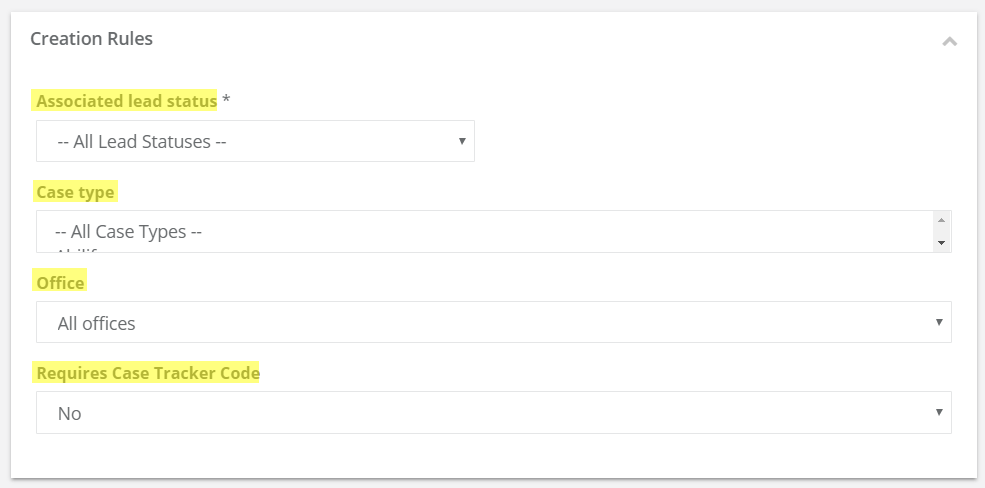
Step 11 - Select the Creation Rules (not applicable to all triggers)
- Associated Lead Status - Select a Lead Status from the drop-down menu if you want this Webhook to only occur when a lead is created with a specific status (Default: All Statuses)
- Case Type - Select a Case Type from the drop-down menu if you want this Webhook to only occur when a lead is created with a specific Case Type (Default: All Case Types)
- Office - Select an Office from the drop-down menu if you want this Webhook to only occur when a lead is created with a specific Office (Default: All Offices)
- Requires Case Tracker Code - Select Yes if you want the Webhook to only occur if there is a Case Tracker code for the lead
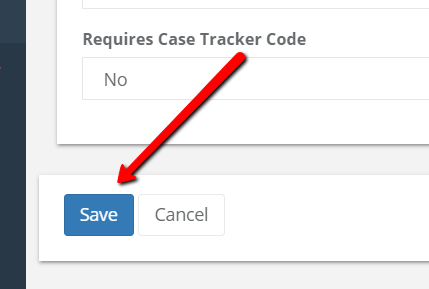
Step 12 - Click Save
Step 13 - Go back to Zapier and click the Ok, I did this button
Step 14 - Create a test lead in Lead Docket for the Webhook to detect (You can delete this later)
Step 15 - Click on the example that appeared in Zapier to verify that the information matches the information of test lead you just created
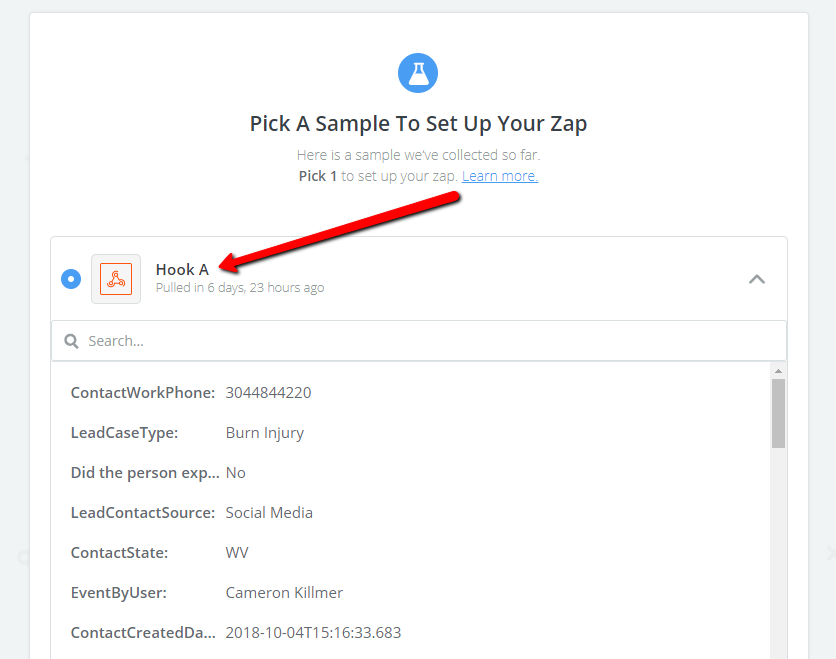
Step 16 - Click Continue
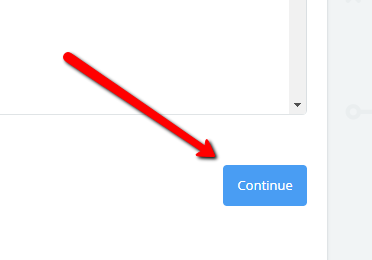
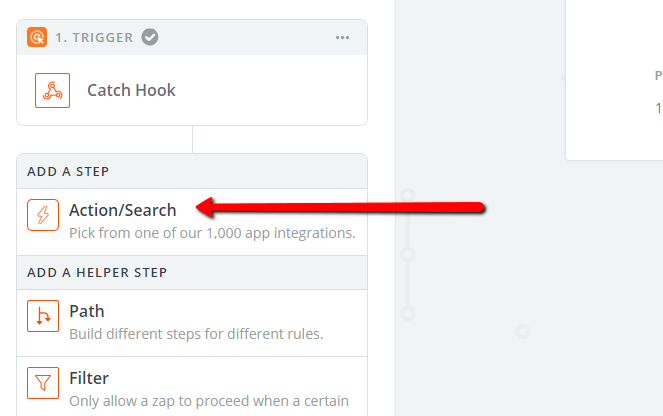
Step 17 - Click "+ Add a Step" in the left navigation of Zapier and click Action/Search
Step 18 - Search for the application you want to send information to and select it.
In this example we will be sending Lead Details to Google Sheets

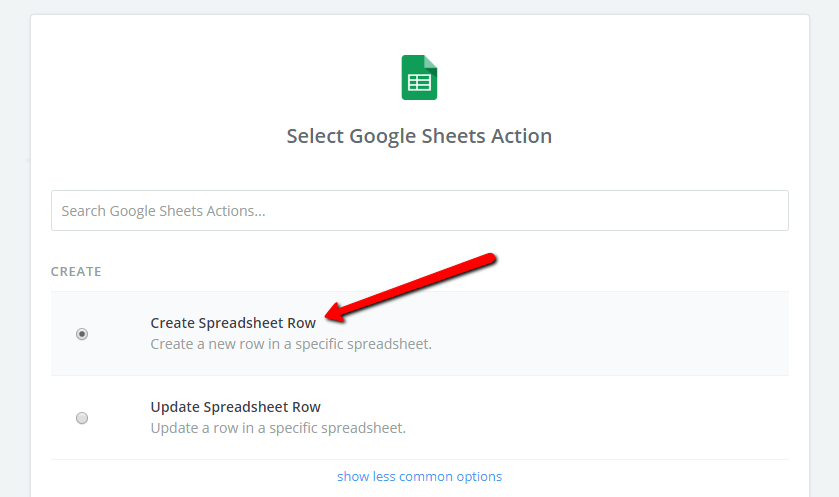
Step 19 - Select an Action
In this example we will select Create Spreadsheet Row, which means a new row will be created in our spreadsheet in Google Sheets that contains the lead details of the lead we create
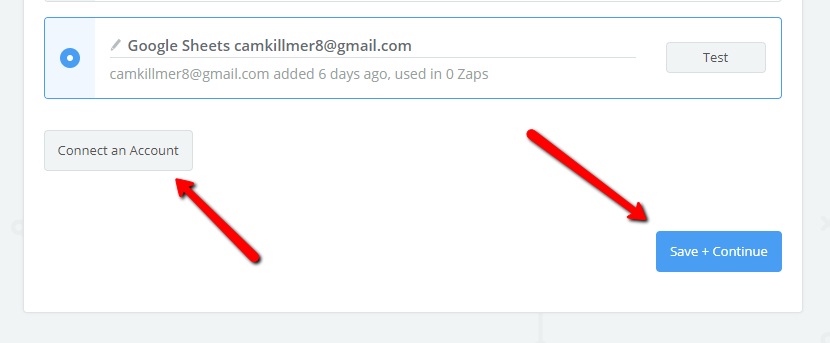
Step 20 - Connect your account by clicking the Connect an Account button and signing into the appropriate account. Click Save + Continue once finished
Example: Logging into a Google Account to allow Zapier access to Google Sheets
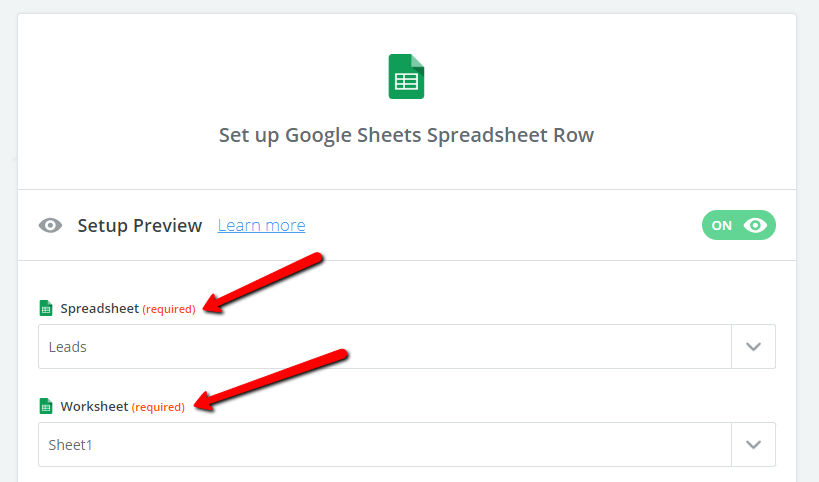
Step 21 - Select where you want the information to go
Example: Selecting a spreadsheet and worksheet you want the information to send to
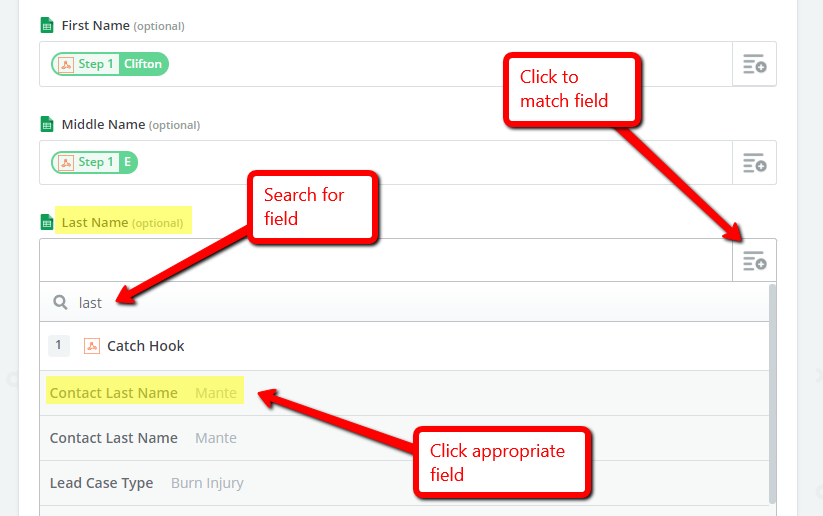
Step 22 - Map the fields. You will see a list of fields generated by the headings you have in the spreadsheet - these will need to be matched with the appropriate Lead Docket field.
To do this, click the (+) button on the right of the input box below each field heading and select the appropriate Lead Docket field (Ex: First Name field mapped to "Contact First Name")
Note: If you add more field headings to the spreadsheet, click the Refresh Fields button so the newly added fields appear in Zapier.
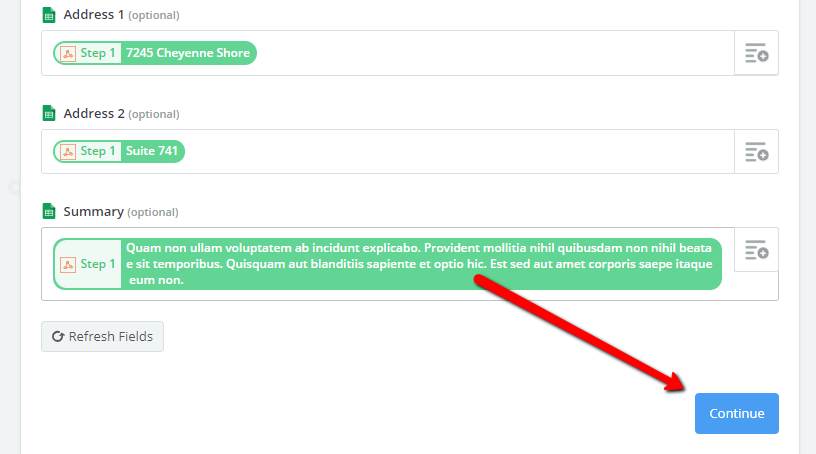
Step 23 - Once all of the fields are mapped, click the Continue button
Step 24 - Send a test by clicking the appropriate Send Test button (Example: Sending a test to Google Sheets)
Check to make sure the information you want to send appears in the appropriate location (Example: Checking to see if the lead details have appeared in the selected Google Sheets location)
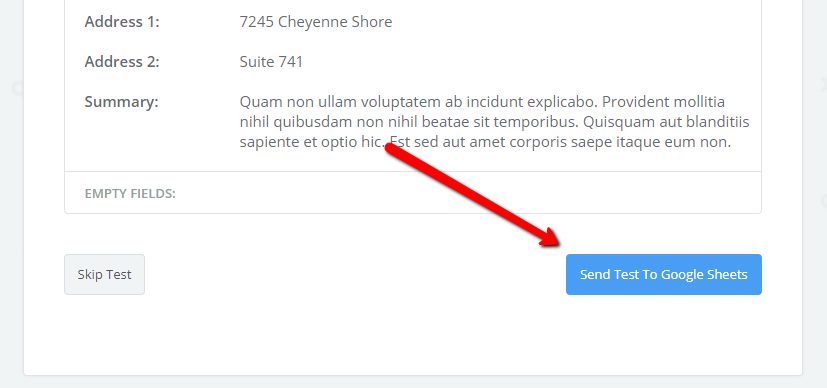
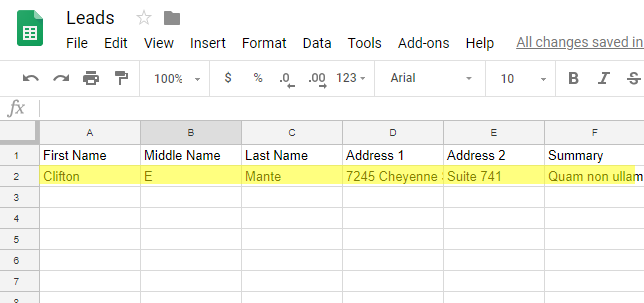
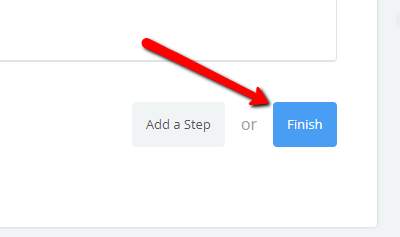
Step 25 - Click the Finish button if the test was successful. If the test was not successful, double-check the previous steps
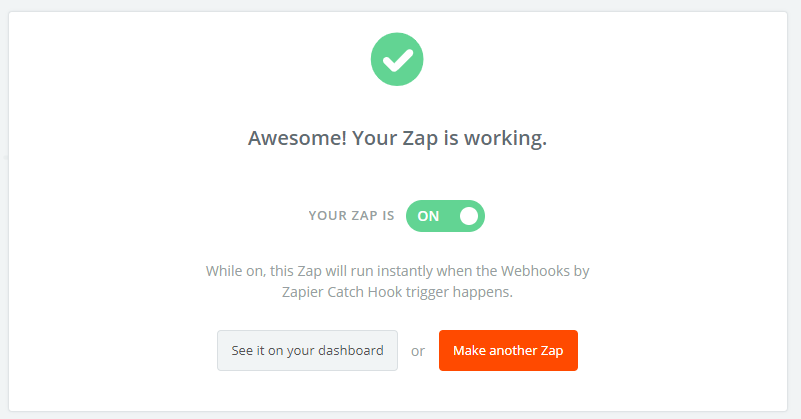
Step 26 - Give your Zap a name and then turn it on
Comments
0 comments
Article is closed for comments.