
To connect your Infusionsoft account with Lead Docket, check this guide.
Creating Infusionsoft Rules in Lead Docket:
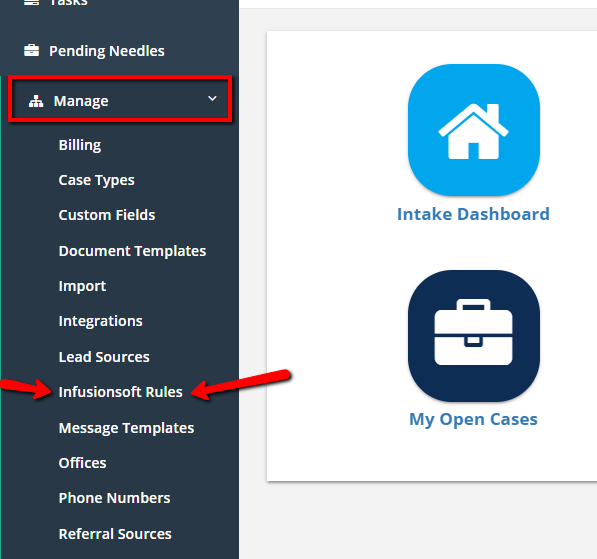
Step 1 - Click the Infusionsoft Rules button under Manage.
(Note: If you don't see this button, connect your Infusionsoft account by clicking the link at the top of this article)
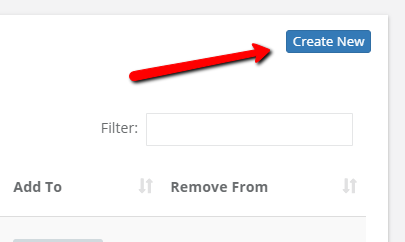
Step 2 - Click the Create New button.
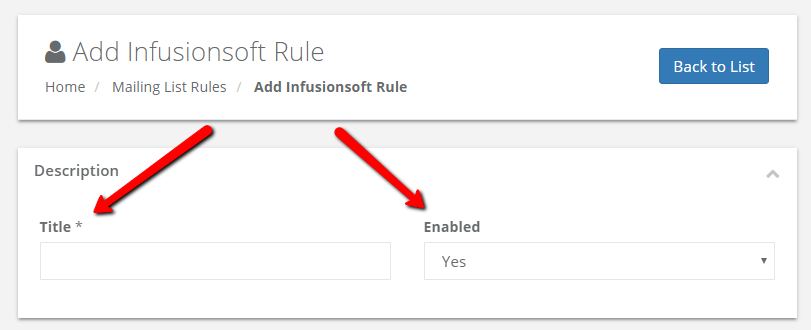
Step 3 - Create a Title for the Infusionsoft Rule. Under Enabled you may select whether or not you want this rule to be enabled.
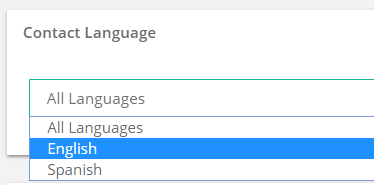
Step 4 - Select the Contact Language, if necessary.
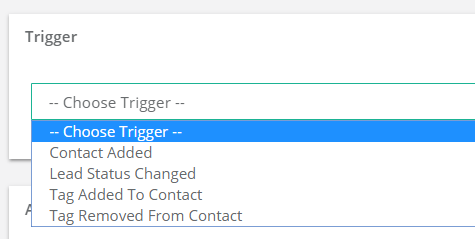
Step 5 - Select a Trigger
- Contact Added - Add to InfusionSoft and add tags when the contact has been added
- Lead Status Changed - Add to InfusionSoft and add tags when the lead status has been changed
- Select the lead status(es) you want to trigger the email along with the Case Type, Severity Level(s), and Office
- Tag Added to Contact - Add to InfusionSoft and add tags when a tag has been added to the contact
- Select which tag should affect this trigger under Creation Rules for Tag
- Tag Removed From Contact - Add to InfusionSoft and add tags when a tag has been removed from the contact
- Select which tag should affect this trigger under Creation Rules for Tag
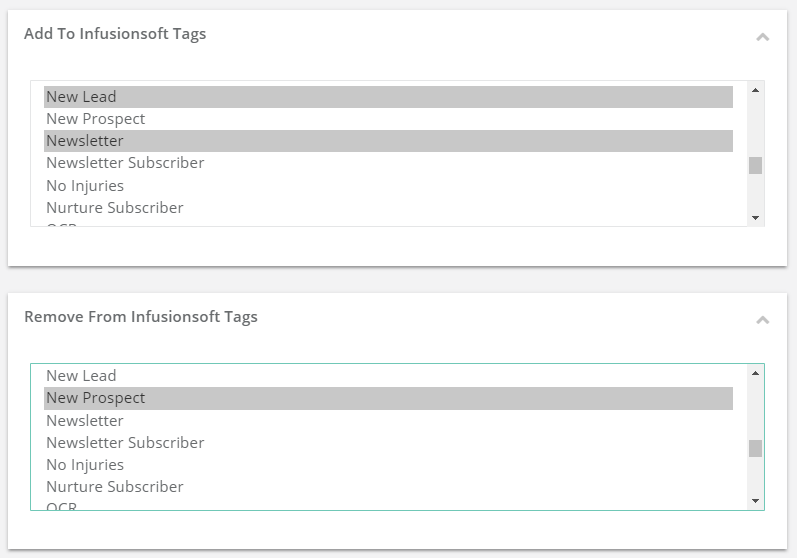
Step 6 - Add to Infusionsoft Tags. Select which of your Infusionsoft tags should be associated with this rule. Hold CTRL to select multiple.
Step 7- Remove from Infusionsoft Tags. Select which Infusionsoft tags should be removed for this rule. Hold CTRL to select multiple.
Step 8 - Click the Save button.
Comments
0 comments
Please sign in to leave a comment.